
Another usually overlooked action available to workflows is the Go to Page action. On it's face it does not always seem like the most useful action, however, it can really enhance the users experience, by giving you the ability to redirect the user to different screens or pages within your NetSuite environment. As part of the overall workflow if you would like the user to be directed to different areas in your account through button clicks or after different field values are set, you can do this with the Go to Page action. (Be sure to read our blog post on the Add Button action to see how you can pair this Go to Page action with a button click.)

Note that the Go to Page action can only take you to a specific PAGE in NetSuite, not a specific RECORD. If you would like to go to a specific record like a certain Sales Order, or Customer record then use the Go to Record action.
A PAGE in NetSuite is usually a List, Suitelet or Report that is already defined in your environment. For example, if you navigate to Transactions > Sales > Enter Sales Orders > List in your account that is considered the Sales Orders List (or Page). Also if you navigate to Transactions > Sales > Invoice Sales Orders, that is a native Suitelet that NetSuite provides to help you create Invoices in bulk. Lastly, if you navigate to Reports > Sales > Sales by Customer this is a native report that is also considered a PAGE. You can also select a Saved Search as a PAGE to navigate to as well, just be sure to select the page that ends with "Results" as that will display the actual results of the saved search, not the saved search builder itself.
If you cannot find the page you need in the drop down list we will show you a trick to getting any screen to be considered a "Page" as you read further in this post.
The basics of setting up the Go to Page action are pretty straightforward. Similar to the Remove Button and Lock Record action there are limited triggers that you can apply to this action. However, alternatively the Go to Page action can only be triggered in an After Record Submit context (or Entry/Exit of a workflow state when that Entry or Exit is functioning in an After Record Submit context). This is because we do not want to redirect the user away from a record without first saving the data they have entered. If you were to redirect the user to a new page Before Record Submit (or using any of the Client Triggers) all data they entered into the form would be lost as it was not saved to the database before redirecting to the new page. We recommend that you use this Go to Page action in the following triggers/scenarios:
- Use After Record Submit if adding a condition that will define when to redirect the user. For example, of you would like to navigate to a new page after the user has entered a value for the Department on a record then you would use the After Record Submit action and add a condition of Department = [your preferred criteria]
- Use the Entry trigger when you are redirecting the user to a new page upon clicking a button. Here you would use the Add Button action to place a button on your record. Then create a new state and add the Go to Page action upon Entry into your new state. Then create a transition that will transition to the new state upon execution of your button.
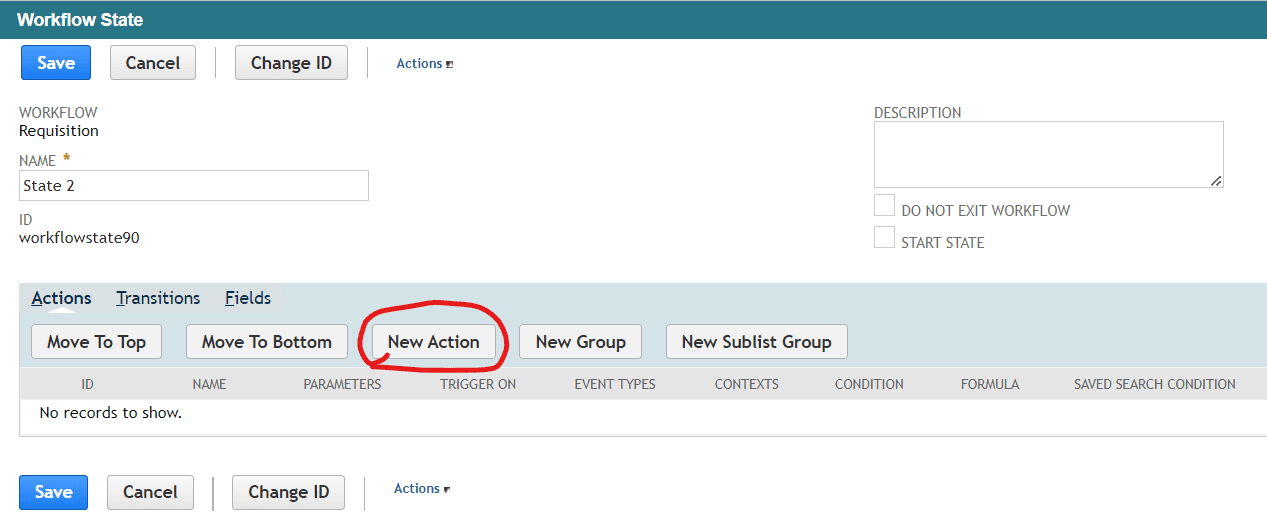
To setup this action navigate to the workflow you'd like to update (or create a new workflow) and open up the state you would like to redirect the user in. Then click the New Action button.
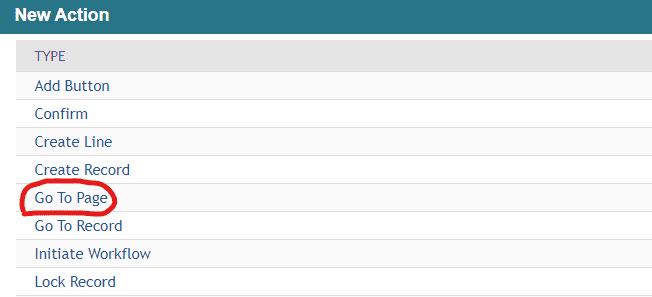
Select Go to Page from the list
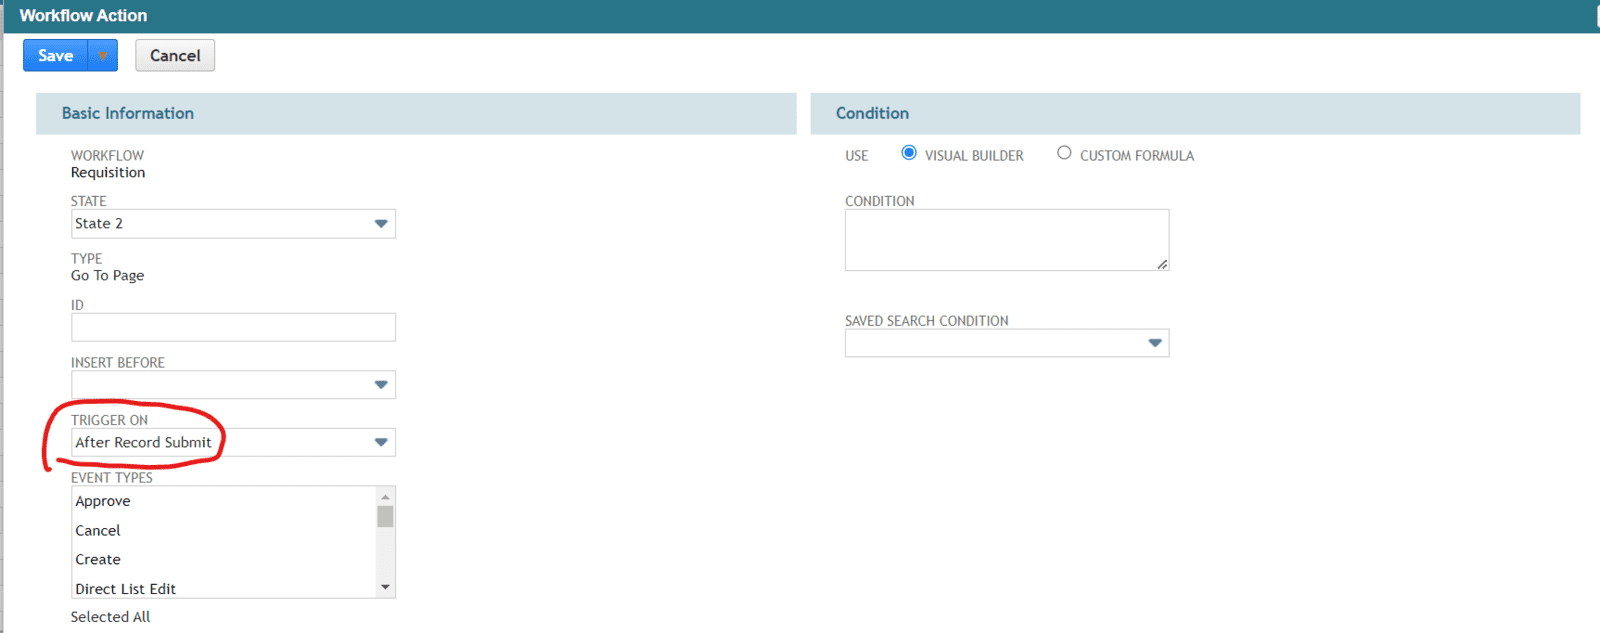
As stated above if you are going to be using data from the current record as your criteria for redirecting the user then choose After Record Submit as your trigger. If you are going to be redirecting the user after they click a button then choose Entry as your trigger
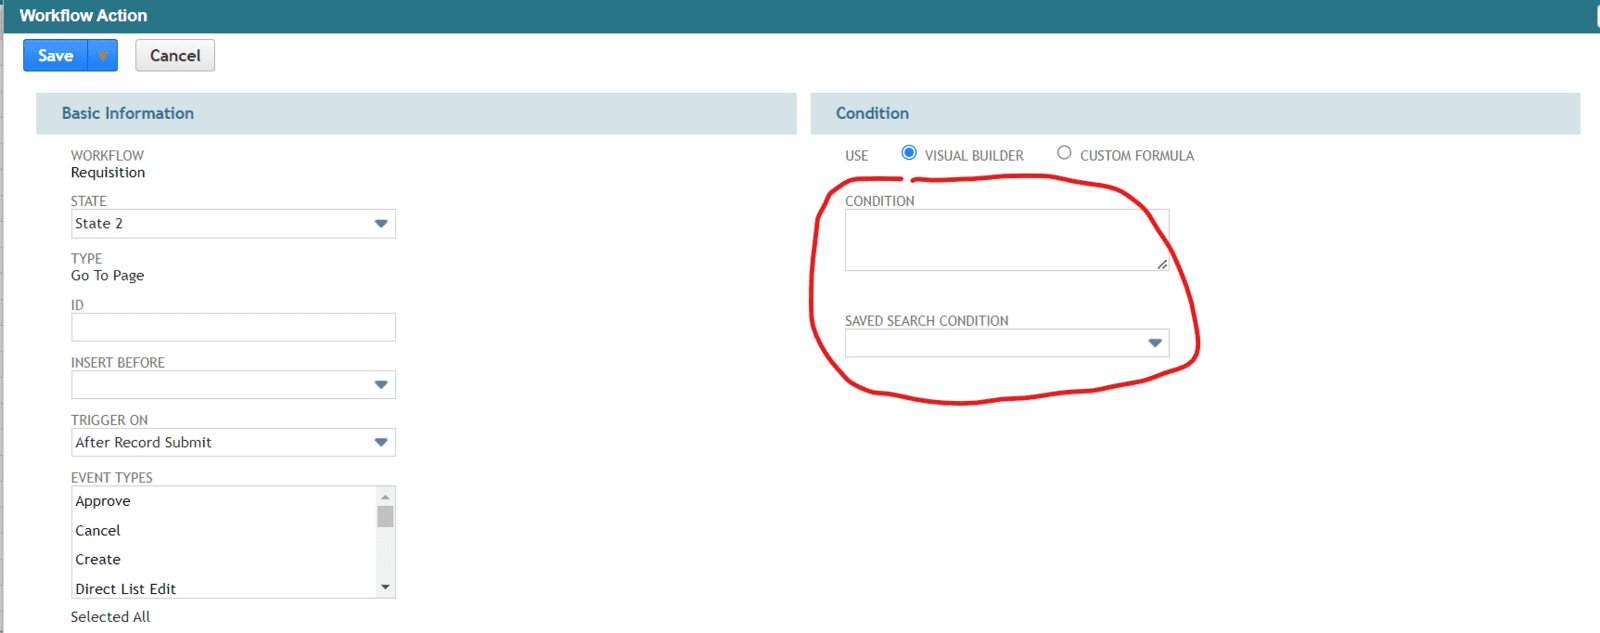
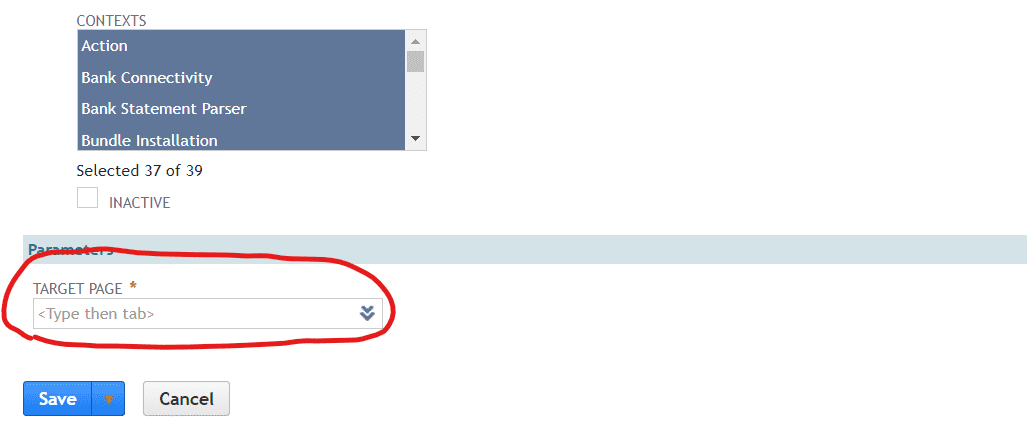
Optionally, add a condition to your Go to Page action so it only triggers when that condition is met.
Then in the Target Page drop down select the page the user will be redirected to.
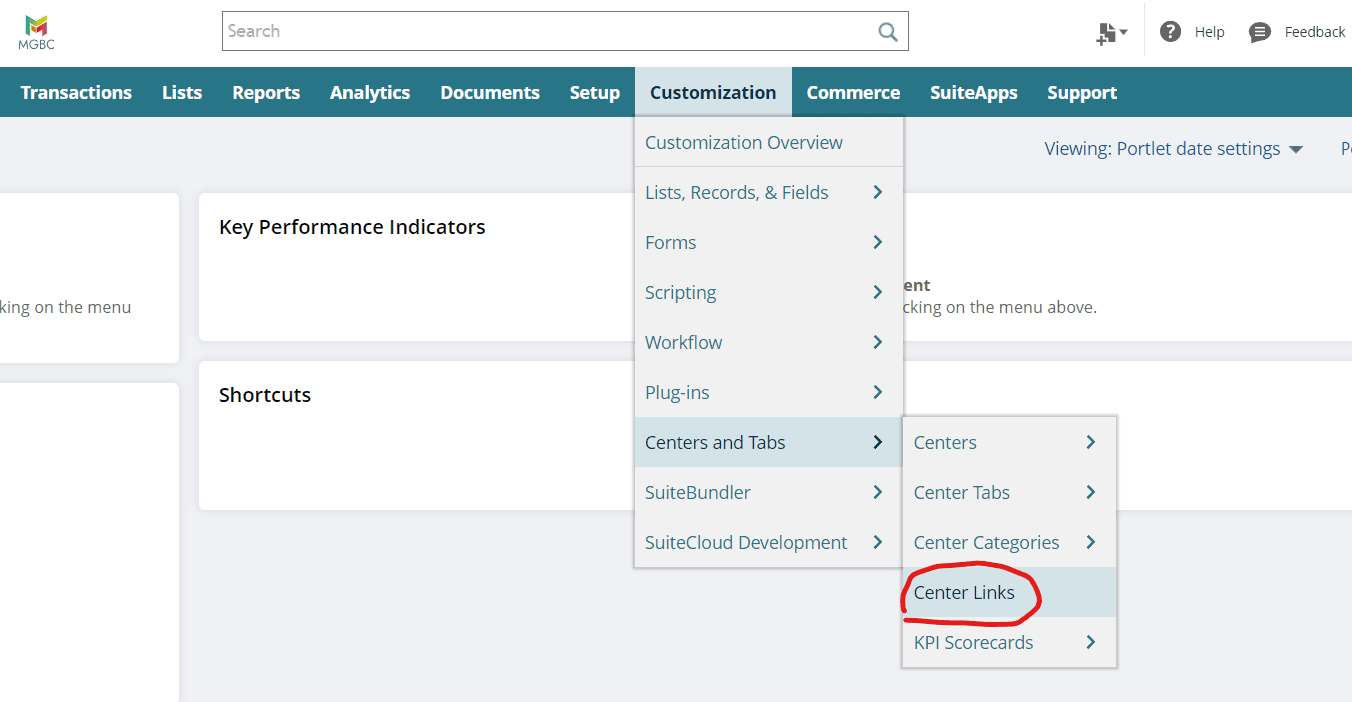
One problem that may arise is that the page may not be an available selection for you in the Target Page dropdown. Or maybe you'd like to redirect the user to an external URL outside of NetSuite. In this case you can use Center Links to overcome this limitation.
To do so navigate to Customization > Centers and Tabs > Center Links
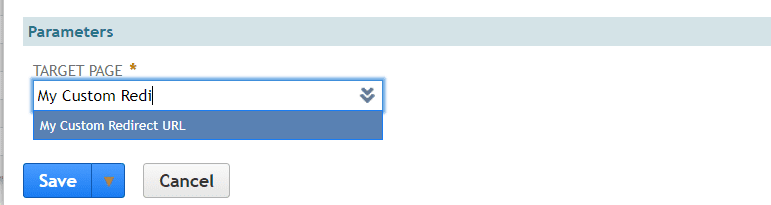
Then add the URL you would like to redirect to in the URL field, give it a unique label and click Save

Now the link you provided will be available to select as a Target Page in your Go to Page action.

URL Parameters
One of the coolest no-code tricks you can use is URL parameters. With URL parameters you can navigate to a URL AND perform certain functions on the new webpage at the same time. For example, you can navigate to a NetSuite Saved Search and pre-filter the results of that saved search. Or you can open up a new record in NetSuite and pre-fill fields on that form with predefined values. These URL parameters are not exclusive to NetSuite as almost ANY webpage supports URL parameters, it just takes a little digging to figure out the proper syntax for each application.
Unfortunately, you cannot use URL parameters in the Go to Page action, however, we have created an Enhance version of the Go to Page action that DOES support URL parameters. Our Go to URL custom action is EXTREMELY powerful as it not only helps redirect the user to any web URL but also allows you to perform functions on the new webpage based on what URL parameters are supported.
To learn more about the power of this custom action read our blog post on simple no-code integrations!